October 12, 2026
How to Organize Your B-Roll Library for Better AI Clip Matching
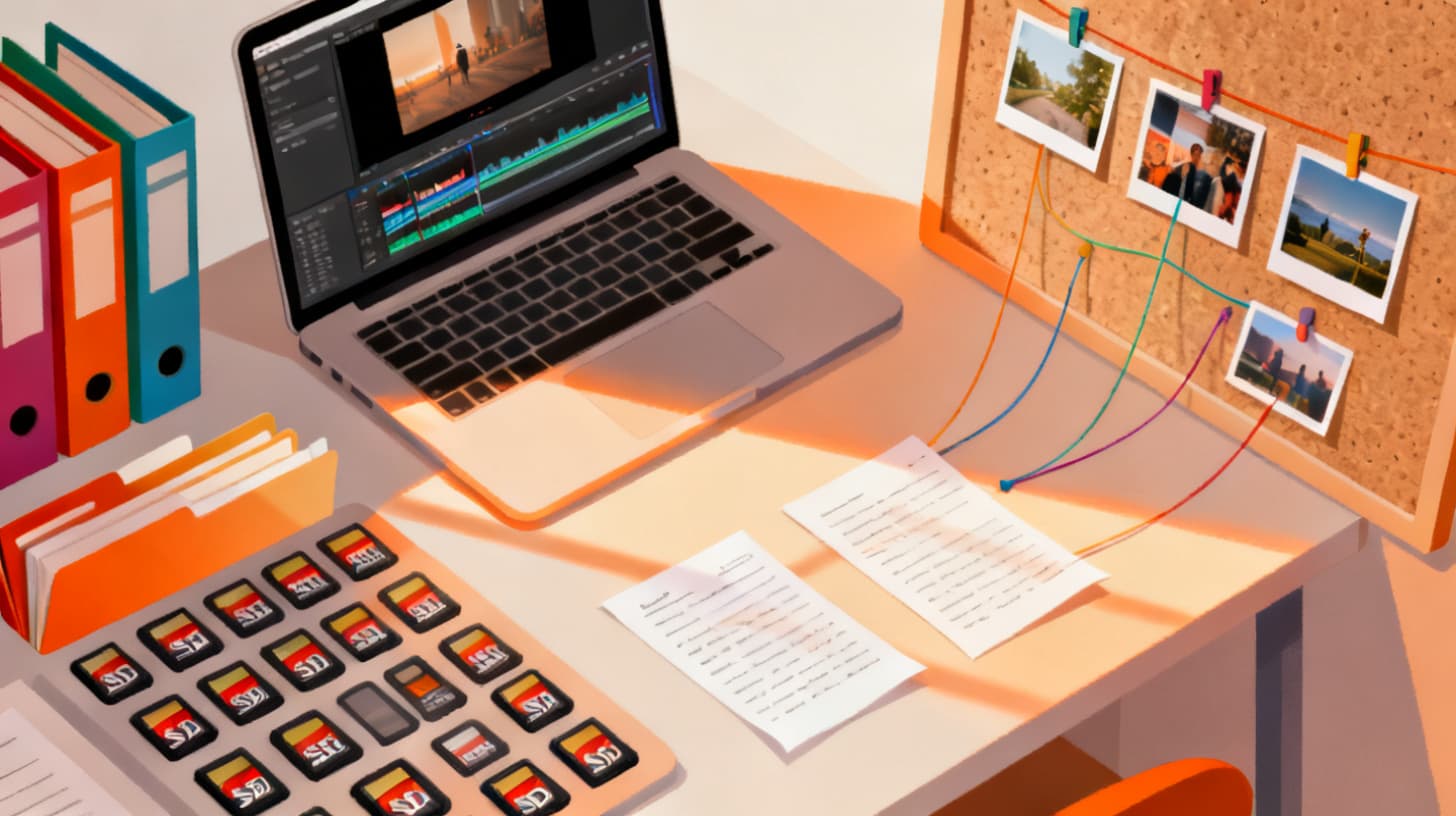
You spent hours filming gorgeous b-roll. Sunlit cityscapes, close-ups of steaming coffee, sweeping drone shots over green valleys. Then you dumped everything into one folder called "footage_final_v2" and hoped for the best.
Sound familiar? If you've ever tried to match clips to a video script, whether manually or with an AI tool, you already know the pain. A messy, unlabeled clip library turns what should be a creative process into a frustrating scavenger hunt. And when you hand that chaotic library to an AI matching engine, the results reflect the chaos right back at you.
The good news: a little upfront organization goes a long way. When your b-roll is well-structured, descriptively named, and thoughtfully grouped, AI clip matching tools can analyze your footage with far greater accuracy. Confidence scores go up. Mismatches go down. Your editing time shrinks dramatically.
This guide walks you through a practical system for organizing, naming, and grouping your b-roll so that AI-powered tools like ClipMatch can match each script line to the perfect shot from your footage. Whether you're a solo creator, a travel vlogger, or a small marketing team, these strategies will transform how you prep for any video project.
Build a Folder Structure That Mirrors How You Shoot
Most creators organize footage by date. That works fine for archival purposes, but it's terrible for creative retrieval. If you shot a food vlog across three different days, your best overhead plating shot could be buried in a folder labeled "2024-03-17" alongside forty other unrelated clips. No human, and no AI, benefits from that kind of structure.
Instead, think about organizing your footage by scene, subject, or visual category. The goal is to create groupings that match how you'll eventually describe shots in a script.
Scene-Based Organization
If you're producing a travel video, structure your folders around locations or experiences rather than shoot dates:
tokyo-street-food/shibuya-crossing/temple-morning-visit/bullet-train-journey/
Each folder contains only the clips relevant to that scene. When you upload a folder to your video project, every clip in the batch shares contextual relevance, which means AI analysis starts with a huge advantage. The tool doesn't have to distinguish a temple shot from a train shot when they're already separated.
Subject-Based Organization
For product videos or brand content, organize around subjects:
product-close-ups/customer-reactions/workspace-environment/team-interviews/
This approach works particularly well when your script alternates between showing a product and showing people interacting with it. Each subject group acts like a curated mini-library that the AI can draw from with precision.
Visual Category Organization
Sometimes the most useful grouping is purely visual. Think about what the camera is doing:
wide-establishing-shots/close-up-details/movement-transitions/overhead-flat-lays/slow-motion-moments/
This method is especially powerful for creators who shoot a lot of general-purpose b-roll that gets reused across multiple projects. When your script says "cut to a sweeping wide shot of the coastline," the AI immediately has a narrower, more relevant pool to search through.
The key principle: your folder structure should reduce ambiguity before the AI even starts analyzing frames. Think of folders as pre-filters. The tighter your groupings, the higher the match quality.
One practical tip: keep a simple text file or spreadsheet that maps each folder to a brief description. Something like:
Folder
Description
Best For
tokyo-street-food/
Yakitori stalls, ramen shops, vendors
Food scenes, culture segments
shibuya-crossing/
Pedestrian traffic, neon signs, night shots
Urban energy, transitions
temple-morning-visit/
Incense, architecture, quiet moments
Reflective narration, intros
This reference becomes invaluable when you're writing your script and need to remember what footage you actually have.
Name Your Files Like You'd Describe Them Out Loud
File naming is the single most overlooked part of video organization, and it has a surprisingly large impact on how well AI matching performs.
Here's why: when an AI tool like ClipMatch's AI video editor analyzes your uploads, it examines visual frames to understand what's in each clip. But descriptive filenames add another layer of context. A file named DSC_0847.mp4 gives the system nothing to work with beyond the pixels. A file named overhead-coffee-pour-morning-light.mp4 immediately communicates subject, angle, and mood.
You don't need to write a novel in your filename. You need three to four pieces of information, separated by hyphens or underscores:
The Naming Formula
Use this pattern: [subject]-[action-or-angle]-[mood-or-context]
Examples:
coffee-pour-overhead-warm-light.mp4hiker-walking-trail-wide-shot.mp4product-unboxing-close-up-hands.mp4crowd-cheering-stadium-slow-motion.mp4sunset-ocean-drone-pullback.mp4
Each filename tells a micro-story. You can glance at a folder of twenty clips and immediately understand what's in each one, without opening a single file. More importantly, this naming convention helps AI tools build a richer understanding of your footage.
Compare these two libraries:
Before (generic names):
After (descriptive names):
The second library practically matches itself. When your script line reads "the chef carefully plates each dish with precision," an AI scanning that library has an obvious best match. With the first library, the system is relying entirely on frame analysis, and while modern AI is impressive at visual understanding, why make it work harder than it needs to?
Batch Renaming Tips
If you already have hundreds of clips with camera-default names, don't panic. Batch renaming tools like Adobe Bridge, Bulk Rename Utility, or even a simple shell script can speed up the process. The trick is to watch each clip for two to three seconds, identify the key visual element, and rename accordingly.
Start with your most-used footage. You don't have to rename everything in one sitting. Rename the clips you'll use in your next project, then gradually work through your back catalog. Every renamed file is an investment in faster, more accurate editing for every future project.
For ongoing shoots, build the naming habit right at the point of import. When you pull clips off your SD card, rename them immediately. It adds maybe ten minutes to your import workflow and saves hours downstream.
Write Scripts That Speak the Same Language as Your Footage
Here's something most creators don't think about: your organization system and your script need to share a vocabulary. When there's alignment between how you describe your footage and how you write your script lines, AI matching becomes almost effortless.
The script-to-video workflow works by analyzing each line of your script and finding the clip that best represents it visually. The AI examines frames, interprets visual content, and assigns confidence scores to potential matches. But when your script uses vague or abstract language, the system has to bridge a wider gap between words and visuals.
Be Visually Specific in Your Script
Consider two versions of the same script line:
Vague: "The city comes alive at night."
Specific: "Neon signs reflect off wet pavement as crowds fill the crosswalk."
Both describe a nighttime urban scene. But the second version gives the AI concrete visual anchors: neon signs, wet pavement, crowds, a crosswalk. If your library contains a clip named shibuya-crosswalk-neon-rain-night.mp4, that second script line is going to produce a high-confidence match.
This doesn't mean every script line needs to read like a shot list. You're still writing narration for your audience. But leaning toward visual specificity, especially for b-roll heavy sections, dramatically improves match accuracy.
Here's a practical exercise: after writing your script, go through each line and ask, "Could someone find the right clip based on these words alone?" If the answer is no, add a visual detail or two.
Match Your Naming Vocabulary to Your Script Vocabulary
If you call something a "flat lay" in your filenames, use "flat lay" in your script rather than "overhead shot." If your folders use "close-up," use "close-up" in your narration rather than "detail shot." Consistency between your organizational language and your script language creates a tighter semantic connection that benefits AI matching.
This is a simple habit to build:
- Before you write your script, review the clips you've uploaded
- Note the naming patterns and folder labels you used
- Mirror that language when writing script lines that should match those clips
For example, if you organized a food video project like this:
overhead-plating-garnish.mp4side-angle-steam-rising.mp4customer-first-bite-reaction.mp4
Your script lines might read:
"Each plate gets a final garnish, placed with care." → matches
overhead-plating-garnish.mp4"Steam curls up from the bowl, carrying the aroma of slow-cooked broth." → matches
side-angle-steam-rising.mp4"And then, that first bite says everything." → matches
customer-first-bite-reaction.mp4
The AI doesn't just match words, it analyzes visual content. But when your language aligns with your footage, you're giving the system every possible advantage. You can read more about how to shoot and organize clips for AI clip matching for deeper guidance on bridging the gap between shooting and scripting.
Exclude, Curate, and Refine Before You Match
One of the biggest mistakes creators make is uploading everything and letting the AI sort it out. It sounds efficient, but it actually introduces noise. That shaky test clip you never deleted? The three near-identical takes where only one has good focus? The random shot of your shoes while the camera was still recording? All of that dilutes the pool the AI draws from.
Curation before upload is just as important as organization. Think of it as editing your library before editing your video.
Pre-Upload Curation Checklist
Before you drag clips into your project, run through this quick filter:
- Remove any clips with camera shake, bad focus, or exposure problems
- Delete test recordings and accidental captures
- Keep only the best take when you have multiple versions of the same shot
- Remove clips that don't relate to your current project's topic
- Check that each remaining clip is at least 3 to 5 seconds long (very short clips are hard to use meaningfully)
This curation step typically removes 20 to 40 percent of raw footage, and that's a good thing. A tighter library means every clip is a viable match candidate, which raises overall confidence scores across the board.
Use the Exclude Feature Strategically
Even after curation, you might upload a clip that you want available for some script lines but not others. ClipMatch lets you exclude specific clips from matching consideration, which is incredibly useful for fine-tuning results.
For example, say you have a gorgeous drone shot of a beach that works perfectly for your intro but would be a poor match for a mid-video segment about local restaurants. Upload it, let it match to your intro line, then exclude it from consideration for the restaurant section. This prevents the AI from defaulting to a visually impressive but contextually wrong clip.
Review, Adjust, and Re-match
AI matching isn't a one-and-done process. After the initial match, review the results and look at the confidence scores. High scores (above 80 percent) usually mean the match is strong. Lower scores are signals that something could be improved.
When you see a low-confidence match, ask yourself:
- Is the script line too vague? Try adding visual detail.
- Is the right clip missing from the library? You might need to shoot or source additional footage.
- Are too many similar clips competing? Exclude the weaker ones.
- Would a different crop or start offset improve the match? Adjust the frame selection.
The ability to re-match individual script lines, replace clips, and adjust timing gives you granular control over the final result. Organization gets you 80 percent of the way there. This refinement step handles the last 20 percent.
A well-organized b-roll library isn't just about being neat. It's a creative multiplier. When your footage is structured, named, and curated with intention, every part of your workflow gets faster and more accurate. AI matching tools can do their best work, you spend less time hunting for clips, and your final videos feel more polished and intentional.
The system is straightforward: group clips by scene or subject, name files descriptively, write scripts with visual specificity, and curate before you upload. None of these steps are complicated. They just require a small shift in how you think about your footage, from a pile of files to a searchable, matchable library.
Ready to see the difference organized footage makes? Start a free project on ClipMatch, upload your newly organized clips, write your script, and watch as AI matches each line to the perfect shot. Your first three exports are free, no credit card required. Check out the pricing details to see how the credit-based system works as you scale up production.