How to Record Professional Voiceover at Home for Short-Form Video
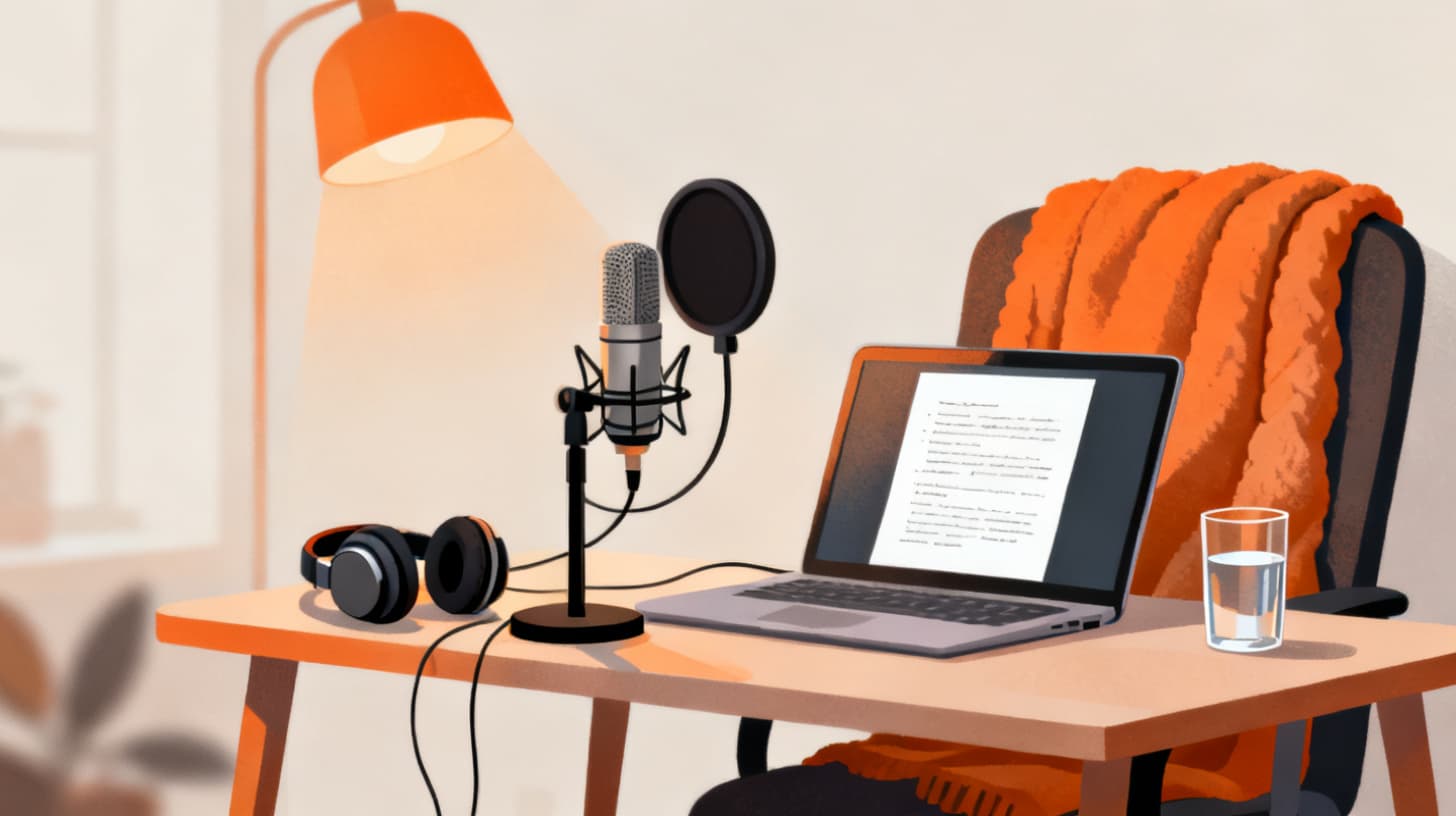
Your voiceover can make or break a short-form video. A viewer might tolerate slightly imperfect visuals, but the moment your audio sounds hollow, muffled, or echoey, they swipe away. The good news? You don't need a soundproofed studio or a thousand-dollar microphone to sound professional. With a few smart choices about your environment, your gear, and your delivery, you can record voiceover at home that rivals what you'd hear from a production house.
Whether you're narrating a recipe reel, walking viewers through a travel vlog, or telling a story over a montage, voiceover is the connective tissue that holds your video together. According to TechSmith's Video Viewer Trends Report, audio quality is the characteristic viewers rank as most important when watching video, and fuzzy or poor audio is one of the top reasons people stop watching entirely. That stat alone should convince you to take your voiceover seriously.
The best part? Tools like ClipMatch now let you record voiceover directly in your browser, match clips to your script with AI, and export polished short-form videos without juggling multiple apps. But before you hit record, let's make sure you're set up for success.
Setting Up Your Home Recording Space
You don't need acoustic foam covering every wall. What you need is awareness of how sound behaves in your space and a few practical adjustments that dramatically reduce unwanted noise and reverb.
Choose the Right Room
The single most impactful decision you'll make is where you record. Walk through your home and clap your hands in each room. If you hear a noticeable echo or ring, that room will make your voiceover sound amateurish. Smaller rooms with soft furnishings absorb sound best. A bedroom with curtains, a rug, and a closet full of clothes is often the best recording booth in your house. Bathrooms and kitchens, with their hard tile surfaces, are the worst.
If you have a walk-in closet, congratulations. That's your home studio. The hanging clothes act as natural sound dampeners, and the small enclosed space minimizes reverb. Plenty of professional voice actors record in their closets, so there's zero shame in it.
Tame Background Noise
Before you record a single word, sit in silence for 30 seconds and listen. Really listen. You'll notice things you normally tune out: the refrigerator humming, an air conditioner cycling, traffic outside, a ticking clock. Each of these will show up in your recording.
Here's what to do about them:
HVAC and fans: Turn them off while recording. Yes, it might get warm. Record in shorter sessions and turn the air back on between takes.
Appliances: Pause your dishwasher and washing machine. Unplug anything that hums near your recording area.
Windows: Close them. Even distant traffic creates a low rumble that muddies your audio.
Phones and notifications: Put every device in the room on silent or airplane mode. A notification buzz mid-sentence means re-recording that entire take.
Pets and people: Let your household know you're recording so they don't wander in or start a conversation in the next room.
DIY Sound Treatment
If your room still sounds a bit too "roomy," you can reduce reflections without spending much money. Hang a thick blanket behind your monitor or drape one over a clothing rack positioned behind your microphone. Place a pillow or folded towel on your desk between you and the mic to absorb reflections bouncing off the hard surface. Even pulling your curtains closed and adding a rug to a hardwood floor makes a noticeable difference.
The goal isn't perfect silence. It's reducing the room's influence on your voice so the mic captures you and not the space around you.
Gear That Actually Matters (and What Doesn't)
Content creators often fall into the trap of thinking better gear equals better audio. While your equipment does matter, there's a clear point of diminishing returns. Here's where to invest your attention and where to save your money.
Microphone Selection for Beginners
You have two main categories to consider: USB microphones and XLR microphones. For home voiceover recording, especially for short-form video, a USB microphone is the smart choice. It plugs directly into your computer, requires no additional hardware, and delivers excellent quality for the price.
Popular options in the $50 to $130 range include dynamic USB mics and condenser USB mics. Here's the key difference:
Dynamic microphones are less sensitive to room noise. They pick up sound primarily from the front and reject background noise well. If your room isn't perfectly treated, a dynamic mic is forgiving.
Condenser microphones capture more detail and nuance in your voice, but they also pick up more of your room. If you've done the sound treatment steps above, a condenser mic will sound fantastic.
For most home voiceover situations, a dynamic USB mic gives you the best results with the least fuss. You can always upgrade later once you've dialed in your workflow.
Microphone Placement and Technique
No microphone will save you from bad placement. Follow these guidelines:
Distance: Position yourself 4 to 8 inches from the mic. Too close and you'll get boomy bass buildup (called the proximity effect). Too far and the mic picks up more room sound than voice.
Angle: Speak slightly off-axis, meaning aim your mouth just to the side of the mic rather than directly into it. This reduces plosives (the harsh "p" and "b" sounds that cause popping).
Height: The mic should be at mouth level or slightly above. Speaking down into a mic on your desk creates a strained, unnatural tone.
Pop filter: A pop filter or foam windscreen placed between your mouth and the mic catches plosive bursts of air. If you don't have one, a thin sock stretched over the mic works in a pinch.
What You Can Skip
You don't need an audio interface, a shock mount, or studio monitors to get started. You don't need expensive software for basic voiceover recording. In fact, browser-based tools have gotten remarkably good. ClipMatch's AI Video Editor includes a built-in voiceover recorder that lets you record line by line directly alongside your script, so your narration stays perfectly synced to each video segment without exporting and importing audio files between apps.
Writing and Delivering Voiceover That Connects
Great audio quality is only half the equation. If your delivery is flat, rushed, or sounds like you're reading a corporate memo, viewers will still tune out. The way you write your script and the way you speak it are just as important as how you record it.
Write for the Ear, Not the Eye
Written language and spoken language are different. Sentences that look fine on a page can sound awkward, overly formal, or breathless when spoken aloud. Here's how to write voiceover scripts that sound natural:
Keep sentences short. Aim for 10 to 15 words per sentence. If you run out of breath reading a sentence, it's too long.
Use contractions. Say "you're" instead of "you are" and "don't" instead of "do not." Formal language creates distance between you and your viewer.
Write the way you talk. Read every line out loud as you write it. If it sounds like something you'd never actually say in conversation, rewrite it.
Front-load the important stuff. In short-form video, every second counts. Start each script line with the key information or hook, not with setup or filler.
Use transitions sparingly. Phrases like "furthermore" and "in addition" slow your pacing. A simple "and" or a new sentence works better.
A workflow that connects script writing directly to voiceover recording makes this process smoother. With ClipMatch's script-to-video tool, you write your script, then record voiceover for each line individually. This means you can focus on nailing one line at a time instead of trying to deliver an entire script in a single perfect take.
Delivery Techniques That Sound Professional
Even experienced speakers struggle with voiceover because talking to a microphone feels unnatural. Here are techniques that make your delivery sound confident and engaging:
Smile while you speak. It sounds odd, but smiling physically changes the shape of your mouth and the tone of your voice. Listeners can hear warmth and energy, even when they can't see you.
Stand up if possible. Standing opens your diaphragm and gives you better breath support, which makes your voice sound fuller and more authoritative.
Vary your pace. Monotone delivery puts people to sleep. Speed up slightly for exciting parts and slow down for emphasis. Pauses are powerful, so don't be afraid of a beat of silence between thoughts.
Talk to one person. Imagine you're explaining something to a friend sitting across from you. This mental trick prevents you from slipping into a broadcast voice or sounding like you're lecturing.
Warm up your voice. Before you record, hum for a minute, do a few tongue twisters, or simply talk out loud about your day. A cold voice sounds tight and strained.
Re-recording Specific Lines
One of the biggest advantages of recording voiceover for short-form video (as opposed to long-form narration) is that you're working with individual lines, not continuous paragraphs. If line three sounds great but line four falls flat, you only need to re-record line four.
This per-segment approach saves enormous time and reduces the pressure of feeling like you need a flawless single take. When you re-record a specific line, make sure you match the energy and volume of the surrounding lines so the transitions sound seamless.
Putting It All Together: From Recording to Finished Video
Recording the voiceover is only one step in your short-form video workflow. The real magic happens when your narration, visuals, captions, and sound design come together as a cohesive piece. Here's how to think about the full picture.
Sync Voiceover to Visuals
The most common mistake creators make is recording voiceover separately from their editing process, then trying to manually align audio to video clips. This results in awkward timing, mismatched pacing, and hours of tedious adjustments.
A better approach is to write your script first, record voiceover tied to each script line, and then match your video clips to those script segments. This way, the voiceover drives the edit rather than being forced to fit it. You can see how this workflow comes together from script writing through voiceover recording to final export, all within a single tool that handles the AI clip matching automatically.
Layer in Captions and Sound Effects
Voiceover rarely stands alone in short-form video. Captions are practically mandatory since a huge portion of social media video is watched with the sound off, and even when sound is on, captions reinforce your message and boost retention. Sound effects add subtle polish that separates amateur content from professional-feeling work.
When adding captions to your voiceover, consider:
Font size is large enough to read on mobile (at least 60px equivalent)
Captions don't block important visual elements
Animation style matches your video's energy (pop for upbeat, fade for calm)
Caption timing aligns precisely with your spoken words
For more on how sound effects can enhance your captions, check out this breakdown of caption sound design that covers everything from subtle typing sounds to punchy pop effects.
Common Mistakes to Avoid
After helping countless creators improve their voiceover, certain mistakes show up repeatedly:
Recording too hot. If your audio levels peak into the red, your voiceover will sound distorted and harsh. Aim for your levels to hover around -12 dB to -6 dB, leaving headroom for louder moments.
Over-processing with effects. Heavy noise reduction, excessive compression, or aggressive EQ can make your voice sound robotic or tinny. If you need heavy processing to make your audio sound acceptable, the problem is your recording environment, not your post-production.
Ignoring mouth sounds. Lip smacks, dry mouth clicks, and saliva sounds are distracting. Stay hydrated while recording (room temperature water, not cold) and have a glass nearby. A green apple before recording sessions is a trick voice actors use to reduce mouth noise.
Rushing the script. New creators almost always speak too fast. Short-form video moves quickly, but your voiceover still needs breathing room. A good rule of thumb: if your voiceover feels slightly too slow to you, it's probably perfect for your audience.
Neglecting consistency. If you record across multiple sessions, your energy, volume, and tone can shift. Before starting a new session, listen back to your last recording and match that energy before hitting record.
Recording professional voiceover at home is a skill, and like any skill, it improves with practice. Your first few recordings might sound a little rough, and that's completely normal. Focus on controlling your environment, speaking naturally, and recording one line at a time so you can iterate without frustration.
If you're ready to put all of this into practice, start a free project on ClipMatch and record your voiceover directly in the browser alongside your script. Write your lines, record each one, let AI match your clips, style your captions, and export a polished short-form video without bouncing between five different apps. Your viewers will hear the difference.