How to Record Voiceover for Short-Form Video at Home
Your phone's built-in microphone, a quiet corner, and ten minutes of focused effort. That's genuinely all it takes to record voiceover that sounds polished enough for TikTok, Reels, or YouTube Shorts. You don't need a soundproofed studio, a $400 condenser mic, or an audio engineering degree. What you need is a repeatable process, a few tricks for taming room noise, and a workflow that lets you layer narration over your clips without friction.
The creator economy is projected to approach half a trillion dollars, and much of that growth is driven by solo creators producing content from bedrooms, kitchens, and hotel rooms. Voiceover-driven short-form video is one of the fastest-growing formats because it lets you separate what people see from what they hear. You film footage on location, then narrate later with full control over pacing, tone, and storytelling. Whether you're walking viewers through a recipe, narrating travel highlights, or breaking down a product review, voiceover gives you editorial power that talking-head footage simply can't match.
This guide walks you through everything: choosing your recording environment, nailing the technical setup, delivering your script with confidence, and dropping that voiceover onto your timeline. Tools like ClipMatch let you record voiceover directly in your browser after your clips are matched to your script, so the entire process from footage to finished video stays in one place. Let's get into it.
Setting Up Your Recording Space Without Acoustic Treatment
The biggest myth about voiceover recording is that you need a treated room. Acoustic panels, bass traps, and reflection filters are wonderful for professional studios. But for short-form video narration played back on phone speakers and earbuds, the bar is lower than you think. What matters is reducing echo, eliminating background noise, and getting the microphone close to your mouth.
Pick the Right Room
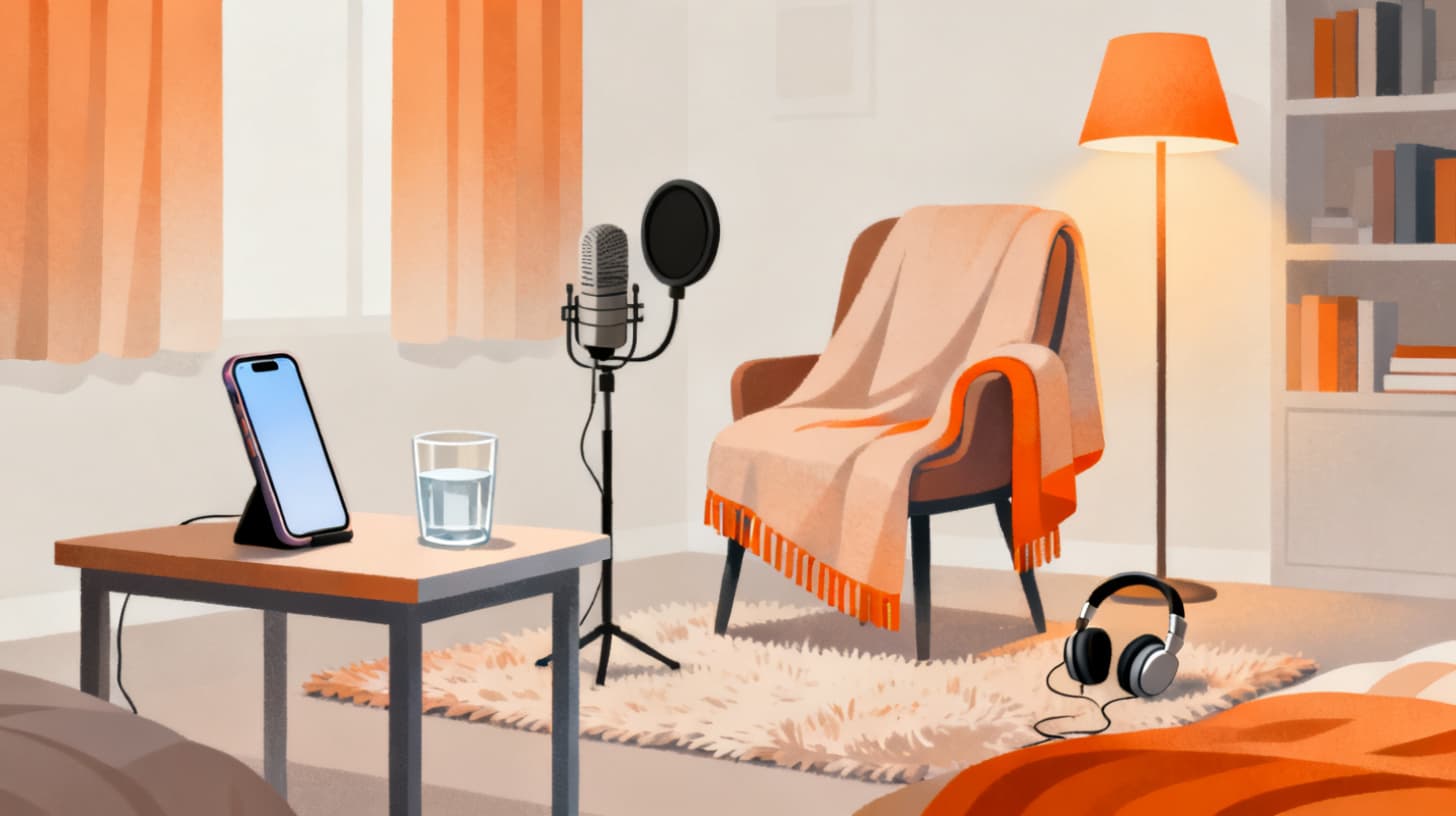
Small rooms with soft surfaces are your best friends. A bedroom with a closet full of clothes, a carpeted office, or even a walk-in closet works beautifully. Hard, reflective surfaces like tile bathrooms, empty hallways, and rooms with floor-to-ceiling windows create reverb that makes your voice sound distant and amateur. If you clap your hands in the room and hear a noticeable echo, move somewhere else.
The ideal recording space has these characteristics:
Carpet or rugs on the floor (hard floors bounce sound)
Curtains or blinds covering windows
Soft furniture like beds, couches, or upholstered chairs
Minimal open wall space (bookshelves are natural diffusers)
A door you can close to block household noise
If you're recording in a less-than-ideal space, drape a thick blanket over a chair and position it behind your microphone. This improvised absorber catches reflections before they reach the mic. Some creators record inside their closets surrounded by hanging clothes, and it works remarkably well.
Eliminate Background Noise Before You Hit Record
Your ears adapt to ambient noise so well that you stop noticing it. Your microphone does not. Before recording, do a silence test: put on headphones, start recording, sit quietly for ten seconds, then play it back at full volume. You'll hear things you didn't notice. Common offenders include:
Air conditioning or heating vents
Refrigerator hum (especially in apartment kitchens)
Computer fans
Street traffic through windows
Washer, dryer, or dishwasher cycles
Turn off what you can. Close windows. If your computer fan is loud, try recording on your phone instead so you can move the laptop out of the room entirely. These small steps eliminate the low-frequency hum that makes voiceover sound unprofessional.
Timing also matters. Record during the quietest part of your day. Early mornings before traffic picks up, or late evenings after household activity settles, typically yield the cleanest audio.
Microphone Positioning Is Everything
Whether you're using your phone, a USB mic, or a lavalier clip-on, distance and angle determine audio quality more than the mic itself. Keep the microphone 4 to 8 inches from your mouth, slightly off to one side rather than directly in front. This off-axis positioning reduces plosives (the harsh burst of air from "p" and "b" sounds) without requiring a pop filter.
If you're using a phone, prop it upright on a stable surface and speak across the top edge where the microphone is located. Don't hold it in your hand because even slight movements create handling noise that's difficult to remove in post-production.
Choosing the Right Mic and Getting Clean Audio
You can record excellent voiceover with gear you already own. The key is knowing each device's strengths and compensating for its weaknesses.
Your Phone Is a Capable Recording Device
Modern smartphones have surprisingly good built-in microphones, especially for voice frequencies. The main limitation is that they pick up sound from all directions (omnidirectional pickup), which means they capture room noise along with your voice. Compensate by recording in a quiet space and keeping the phone close.
For better results with your phone, consider a $15 to $30 lavalier microphone that plugs into your headphone jack or lightning/USB-C port. These small clip-on mics sit inches from your mouth and reject background noise far better than the phone's built-in mic. They're the single best bang-for-your-buck upgrade a creator can make.
USB Microphones for Desktop Recording
If you prefer recording at your computer, a USB microphone in the $50 to $100 range delivers studio-adjacent quality. Look for a cardioid pickup pattern, which captures sound primarily from the front and rejects noise from the sides and rear. Popular options from brands like Samson, Fifine, and Audio-Technica are widely available and plug directly into your laptop with no extra hardware.
A few settings to check:
Input gain: Start at about 60% and adjust until your voice peaks around -6 dB to -12 dB in your recording software. If the meter is hitting red, turn the gain down.
Sample rate: 44.1 kHz or 48 kHz is standard. Higher rates waste storage without audible benefit for voice.
Bit depth: 16-bit is fine for voiceover. 24-bit gives more headroom if your levels fluctuate.
Recording Directly in Your Browser
One workflow that eliminates the complexity of separate recording apps entirely is using a tool with built-in voiceover recording. ClipMatch's script-to-video workflow lets you write your script, match each line to a clip from your footage, and then record voiceover line by line directly in the browser. This means you read each script line while looking at the matched clip, which helps you nail the pacing and emotional tone naturally.
The per-segment recording approach is especially powerful. Instead of recording one continuous take and hoping you don't stumble, you record each line individually. Flubbed a word? Just re-record that single line. This removes the pressure of a perfect take and produces cleaner results with less editing. If one line needs a different energy or you want to adjust your delivery after hearing the whole thing together, you can re-record individual segments without touching the rest.
Delivering Your Script Like a Natural Storyteller
Good audio quality gets ruined by stiff delivery. Short-form video audiences scroll past anything that sounds like a corporate training module. They want conversational energy, personality, and the feeling that someone is talking to them, not at them.
Write for the Ear, Not the Eye
Before you record, read your script out loud at least twice. Sentences that look fine on screen often feel awkward when spoken. Long sentences make you run out of breath. Formal vocabulary feels robotic. Edit your script with these principles:
Shorten sentences. If a sentence has more than 15 words, see if you can split it.
Use contractions. "You're" sounds natural. "You are" sounds like a textbook.
Replace jargon with plain language. Say "background noise" instead of "ambient sound floor."
Add verbal signposts. Phrases like "here's the thing" or "what most people miss" create a conversational rhythm.
Travel creators narrating footage from a trip benefit from writing like they're telling a friend about the experience. "So we found this tiny restaurant down a side street, and the owner literally came out and insisted we try his grandmother's recipe." That's voiceover gold. Compare it to "We discovered a small restaurant and sampled traditional cuisine." Same information, completely different energy.
Food creators face a similar challenge. Narrating a recipe works best when it feels like a friend walking you through the steps rather than an instruction manual. If you're creating food and recipe videos with voiceover, writing your script in a casual, encouraging tone makes the difference between a video people watch once and one they save and share.
Warm Up Your Voice
This sounds silly until you try it and hear the difference. Before recording:
Hum for 30 seconds to wake up your vocal cords
Read a paragraph from anything (a news article, a book) out loud at your recording volume
Exaggerate your pronunciation for a few sentences to loosen your mouth muscles
Take three slow, deep breaths to relax your throat
Your first take after warming up will sound noticeably smoother than a cold start.
Pacing and Pauses
New voiceover creators almost always speak too fast. Nerves accelerate your pace without you realizing it. A good rule of thumb for short-form video: aim for roughly 130 to 150 words per minute. That's conversational speed with room for the audience to absorb what you're saying while also watching the visuals.
Pauses are equally important. A one-second pause before a key point creates emphasis. A half-second pause between sentences prevents your narration from feeling like an auctioneer's call. When recording per-segment voiceover, these pauses happen naturally at line breaks, which is another reason the line-by-line approach produces better results.
If you're narrating travel vlog footage, pacing matters even more because your audience is processing stunning visuals alongside your words. Give them breathing room. Let a beautiful landscape clip play for a beat before your next line drops in.
Putting It All Together and Exporting Your Video
Recording great voiceover is only valuable if it ends up in a finished video. The final step is combining your narration with your footage, adding captions, and exporting a polished piece of content.
The Voiceover-First Workflow
Many creators make the mistake of editing their video first and then trying to squeeze voiceover into the gaps. This creates timing mismatches and awkward pacing. The voiceover-first approach flips this: you write the script, record the narration, and then arrange the visuals to match.
Here's how this works in practice:
Write your script with one idea per line, each line corresponding to roughly one clip
Select your footage from your camera roll and let AI match clips to script lines
Record voiceover line by line, adjusting delivery to match the visual
Review the assembly and swap out any clips that don't fit
Add captions and sound effects for the final layer of polish
Export the finished vertical video
This workflow is exactly what ClipMatch is built for. You upload your camera roll clips, write or paste your script, and AI matches each line to the most relevant footage. Then you record voiceover right in the browser, customize captions, and export. The entire process stays in one place, which means no bouncing between five different apps and losing track of files.
Adding sound effects to your captions is a subtle touch that makes voiceover-driven videos feel more dynamic. A soft typing sound synced to word-by-word caption animations gives the audio an extra layer of texture. If you want to dive deeper into that technique, check out this guide on how sound effects make your captions feel professional.
Quick Checklist Before You Export
Before you hit that export button, run through this final quality check:
Voiceover volume is consistent across all segments
No audible background noise, pops, or mouth clicks
Pacing feels natural with appropriate pauses
Captions are accurate and properly timed
Clips match the content of each voiceover line
Crop ratio is set correctly for your target platform (9:16 for Reels/TikTok/Shorts)
Common Mistakes to Avoid
Recording in a single long take. Long takes accumulate small errors. By the time you notice a mispronunciation at minute two, you've already recorded three more minutes you'll need to redo. Record per-segment instead.
Ignoring headphone monitoring. Always wear headphones while recording so you hear exactly what the microphone hears. This catches problems in real time instead of during review.
Over-processing with effects. It's tempting to add reverb, compression, or EQ to your voiceover. For short-form video, less is more. Clean, dry audio played on phone speakers sounds better than heavily processed voice. If your raw recording sounds good in your headphones, it's ready to use.
Skipping the re-listen. Play back your full voiceover from start to finish before exporting. Listen for volume inconsistencies between segments, tonal shifts, or lines that don't flow naturally into each other. Fixing one line now saves you from re-exporting later.
Great voiceover isn't about expensive gear or professional studios. It's about a quiet space, proper mic technique, natural delivery, and a workflow that makes the technical side invisible so you can focus on storytelling. Pick up your phone, find your quiet corner, and record your first voiceover. You'll be surprised how good it sounds.