How to Write a Voiceover Script That Maps to Your Video Clips
You've got a folder full of video clips. Maybe they're from a recent trip, a product shoot, or a week of content creation. You know there's a great short-form video buried in that footage. But every time you sit down to edit, you hit the same wall: how do you turn a pile of random clips into a cohesive story with a voiceover that actually matches what's on screen?
The answer isn't starting in your editing timeline. It's starting with a script.
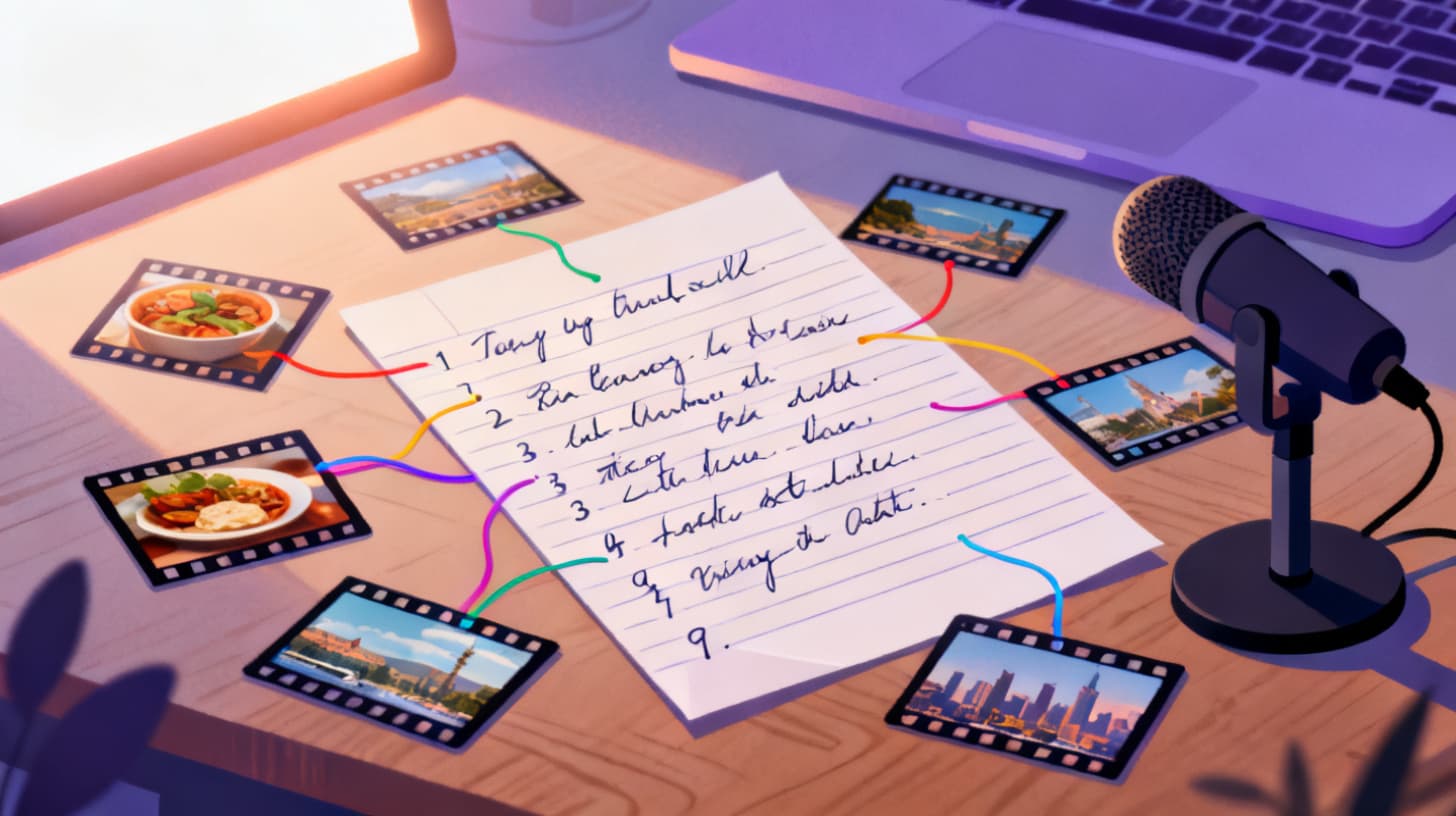
Not just any script, though. You need a voiceover script where each line maps directly to a specific clip in your library. This line-by-line mapping is what separates polished, professional-feeling Reels, TikToks, and Shorts from the ones that feel like a slideshow with someone talking over them.
In this guide, you'll learn how to write a voiceover script designed for clip matching, how to structure each line so it pairs naturally with your footage, and how to use that script to build a complete video from your own clips. If you want to skip straight to trying this workflow, you can sign up for Clipmatch with a free trial credit and test it with your own footage.
Why Your Script Should Drive the Edit, Not the Other Way Around
Most people approach short-form video editing backwards. They drag clips into a timeline, trim them down, arrange them in some order that feels right, and then try to write or record a voiceover that fits. The result? A voiceover that meanders, clips that don't quite match what's being said, and a final product that takes three times longer than it should.
Flipping this process changes everything. When you write the script first and design each line to correspond to a visual moment, you create a blueprint for your entire video before you touch a single clip.
Think of it like building a house. You wouldn't start nailing boards together and hope it turns into a kitchen. You'd start with a floor plan. Your voiceover script is that floor plan. Each line is a room, and each clip is the material that fills it.
This approach works especially well for short-form content because the format demands tight alignment between audio and visuals. According to Pew Research Center, the majority of U.S. adults now use platforms where short-form video dominates the feed. Viewers scroll fast, and the videos that stop them share a common trait: every second feels intentional. The voiceover says something, and the visual on screen reinforces it immediately.
Writing script-first also solves a problem that plagues creators who work with their own footage rather than stock video. When you're pulling from a personal clip library, you know roughly what you have, but you might not remember every shot. A well-written script forces you to think about what visuals you need before you start searching through your clips. You'll quickly identify gaps where you're missing footage and can plan workarounds instead of discovering them mid-edit.
Here's the mindset shift: stop thinking of your voiceover as something you add to your video. Start thinking of it as the skeleton your video is built on. Every line you write should answer two questions simultaneously. What do I want to say here? And what should the viewer see while I say it?
This dual-purpose writing is a skill, and the rest of this guide will show you exactly how to develop it. But the principle is simple. If you can't picture a clip playing behind a line of your script, that line needs to be rewritten.
The Hidden Benefit of Script-First Workflows
Beyond better videos, writing your script first dramatically reduces editing time. Instead of spending an hour scrubbing through footage trying to find the perfect clip for a vague idea, you have a specific visual in mind for each line. Your editing session becomes a matching exercise rather than a creative guessing game.
This is precisely why tools that support script-to-video workflows exist. When you write a script with clear visual cues per line, you can even use AI to handle the matching step automatically, pairing each script line with the best-fitting clip from your uploads. The script becomes machine-readable in a way that a loose creative vision never could be.
How to Structure Each Line for Perfect Clip Matching
Now let's get practical. Writing a voiceover script for clip matching requires a different approach than writing for a podcast, YouTube long-form, or a blog post you're converting to video. Each line needs to be self-contained, visually descriptive in intent, and timed to the natural length of a single clip.
Here are the principles that make this work.
Keep Each Line to One Visual Idea
The most common mistake in voiceover scripts for short-form video is cramming too much into a single line. If one line of your script requires two different visuals to make sense, split it into two lines.
Bad example:
"We hiked through the forest and then stopped for lunch by the river where we saw an eagle."
That's three distinct visuals (forest hiking, riverside lunch, eagle sighting) crammed into one sentence. When it comes time to match a clip to this line, which visual wins? You'd need to pick one, and the other two moments get lost.
Good example:
Line 1: "The trail cut straight through old-growth forest."
Line 2: "We found a spot by the river for lunch."
Line 3: "That's when the eagle showed up."
Now each line maps cleanly to one clip. Your forest hiking footage goes with line one. Your riverside clip goes with line two. And if you caught the eagle on camera, it pairs with line three. If you didn't catch the eagle, you know exactly where you need a placeholder or an alternative shot.
Write for Spoken Timing, Not Reading Speed
When people write scripts, they often write at the density of blog posts or articles. But spoken words take longer than read words. A good rule of thumb for voiceover pacing: plan for roughly 2.5 words per second at a natural, conversational pace. That means a single line of 10 to 15 words will take about 4 to 6 seconds to deliver.
Why does this matter for clip matching? Because 4 to 6 seconds is roughly the sweet spot for a single clip in a short-form video. Shorter clips feel rushed. Longer clips lose viewer attention. When your script lines naturally match this timing, your clips will feel like they were shot specifically for the voiceover.
Try reading each line of your script out loud. If you can't say it comfortably in one breath without rushing, it's too long. Split it.
Use Concrete, Visual Language
Abstract language is the enemy of clip matching. Lines like "It was an amazing experience" or "The vibes were immaculate" don't point to any specific footage. What clip matches "vibes"?
Instead, write lines that describe what actually happened or what the viewer should see.
Instead of "The food was incredible," try "Golden crust, steam rising off the plate."
Instead of "We had so much fun," try "Everyone jumped into the water at the same time."
Instead of "The city was beautiful," try "Neon signs reflected off the wet pavement."
Concrete language does double duty. It makes your voiceover more engaging to listen to, and it makes it far easier to identify which clip belongs with which line. If you're using a tool like Clipmatch to automatically match clips to script lines, this specificity is what allows the AI to analyze your clip frames and find the right visual match with high confidence.
For a deeper dive into structuring short-form scripts quickly, check out this guide on how to write a short-form video script in 15 minutes. It covers templates and frameworks that complement the clip-matching approach we're building here.
Build in Transition Lines
Not every line needs to match a hero clip. Some lines serve as bridges between sections, and they're perfect for B-roll, establishing shots, or transitions. Identify these in your script and mark them mentally as flexible. Lines like "But here's the thing" or "Three days later" don't need a specific clip. They need a mood or a setting. This gives you breathing room in your edit and makes the overall pacing feel more natural.
The Complete Script-to-Clip Workflow, Step by Step
Let's walk through the entire process from blank page to matched video, using a real scenario. Say you're a food content creator who just visited four restaurants in a city and wants to make a 60-second Reel reviewing all four.
Step 1: Inventory Your Footage
Before you write a single word, do a quick scan of what you've got. You don't need to watch every clip in full. Skim through your camera roll and make a rough mental (or written) list:
Restaurant 1: exterior shot, close-up of pasta dish, interior ambiance
Restaurant 2: chef cooking, plating shot, your reaction
Restaurant 3: menu close-up, crowded dining room, dessert
Restaurant 4: street view, signature dish, walking-out shot
This inventory tells you what stories you can tell and where you might have gaps. Maybe you forgot to film the exterior of restaurant 3. Now you know before you write a line that requires it.
Step 2: Write Your Script with Visual Anchors
Using your footage inventory, draft a script where each line has a clear visual partner. Here's what a draft might look like:
Notice how each line points to a specific clip. Line 2 maps to the exterior of restaurant 1. Line 3 maps to the pasta close-up. Line 5 maps to the plating shot. Line 6 maps to the crowded dining room. You're not guessing during the edit. You're executing a plan.
Step 3: Record or Upload Your Voiceover
With your script locked, record your voiceover. Read it naturally, with pauses between lines. Don't rush. Those pauses become your clip transition points.
You can record directly in your browser using tools that support in-app voiceover recording. If you prefer to record on your phone or a dedicated microphone, you can upload the audio file instead. The key is that your voiceover audio should follow the script line by line, because that's how each segment will be paired with its matching clip.
Step 4: Match Each Line to a Clip
This is where the magic happens. Go through your script line by line and assign a clip to each one. You can do this manually in any editor, but it's time-consuming. The faster approach is to upload your clips and script to a tool that handles the matching for you.
In Clipmatch, for example, you upload all your clips, paste your script into the built-in editor, and the AI analyzes the visual content of each clip frame against the semantic meaning of each script line. It then ranks the best matches with confidence scores, so you can review the suggestions and swap in alternatives if the top pick isn't quite right.
This is where writing concrete, visual script lines pays off massively. "Hand-rolled pappardelle with a slow-braised ragu" gives the matching algorithm far more to work with than "The food was great." The more specific your language, the more accurate the match.
Step 5: Review, Adjust, and Export
Once your clips are matched, review the sequence. Watch it through. Does the visual flow make sense? Are there any lines where the clip feels off? Swap those out. Adjust start offsets on clips to make sure the most interesting frame is visible during that line. If you're missing a clip for a specific line, insert a placeholder or adjust the script.
When everything looks right, export your video. A well-scripted, well-matched 60-second video can go from raw footage to finished export in under 20 minutes using this workflow. Compare that to the hours most people spend scrubbing timelines.
Voiceover Recording Tips That Make Your Script Shine
A perfectly written script can still fall flat with a bad voiceover delivery. And a great delivery can elevate a decent script into something people share. Here are specific techniques for recording voiceovers that complement the script-to-clip workflow.
First, match your energy to the content. A travel montage calls for a different vocal tone than a product review or a storytelling piece. Read your script out loud before you hit record and ask yourself: does this sound like someone I'd want to listen to for 60 seconds? If you sound bored, your viewers will be bored. If you sound like you're performing for a stadium, they'll scroll past. Aim for the tone of telling a friend about something cool.
Second, pause between lines intentionally. These pauses aren't dead air. They're edit points. Each pause signals where one clip ends and the next begins. A clean one-second pause between lines makes the matching and timing process significantly easier, whether you're editing manually or using automated tools.
Third, re-record individual lines rather than full takes. If you stumble on line 7 but nailed lines 1 through 6, you don't need to start over. Tools that support per-segment voiceover re-recording let you replace just the problem line while keeping everything else intact. This saves enormous time and keeps your delivery consistent, since you're not trying to recreate the energy of a previous take.
Fourth, consider your recording environment. You don't need a professional studio, but you do need a quiet space. Background noise is distracting in short-form content, where viewers often listen through earbuds. A closet full of clothes is genuinely one of the best DIY recording spaces because the fabric absorbs echo. Record a test line, play it back, and listen for room reverb or ambient hum.
Finally, add captions to your finished video. A huge percentage of viewers watch short-form content with the sound off initially. Captions ensure your carefully written script reaches those viewers too. With customizable caption styles including animations like word-by-word reveal, pop effects, and highlight-word, you can make your captions part of the visual experience rather than an afterthought.
The combination of a well-written, line-mapped script, clean voiceover recording, and polished captions is what makes short-form content feel premium. It's the difference between "someone threw clips together" and "this creator knows what they're doing."
Ready to try this workflow with your own clips? Sign up for Clipmatch and get a free export credit to test the full script-to-video process. Write your script, upload your footage, let the AI match your lines to your clips, record your voiceover, and export a finished video. The entire process takes a fraction of the time traditional editing requires, and the results speak for themselves.